
Raspberry Pi Node-RED Installation
This tutorial walks through the installation of Node-RED and its prerequisites on a Raspberry Pi 2. It assumes you are starting with a clean Raspbian installation and concludes with a working installation of Node-RED including SiteWhere nodes and some of the nodes needed for other tutorials.
Getting Started
This tutorial assumes you are starting from scratch with a new Raspbian installation. The instructions may work on other operating systems, but they have not been tested outside of Raspbian.
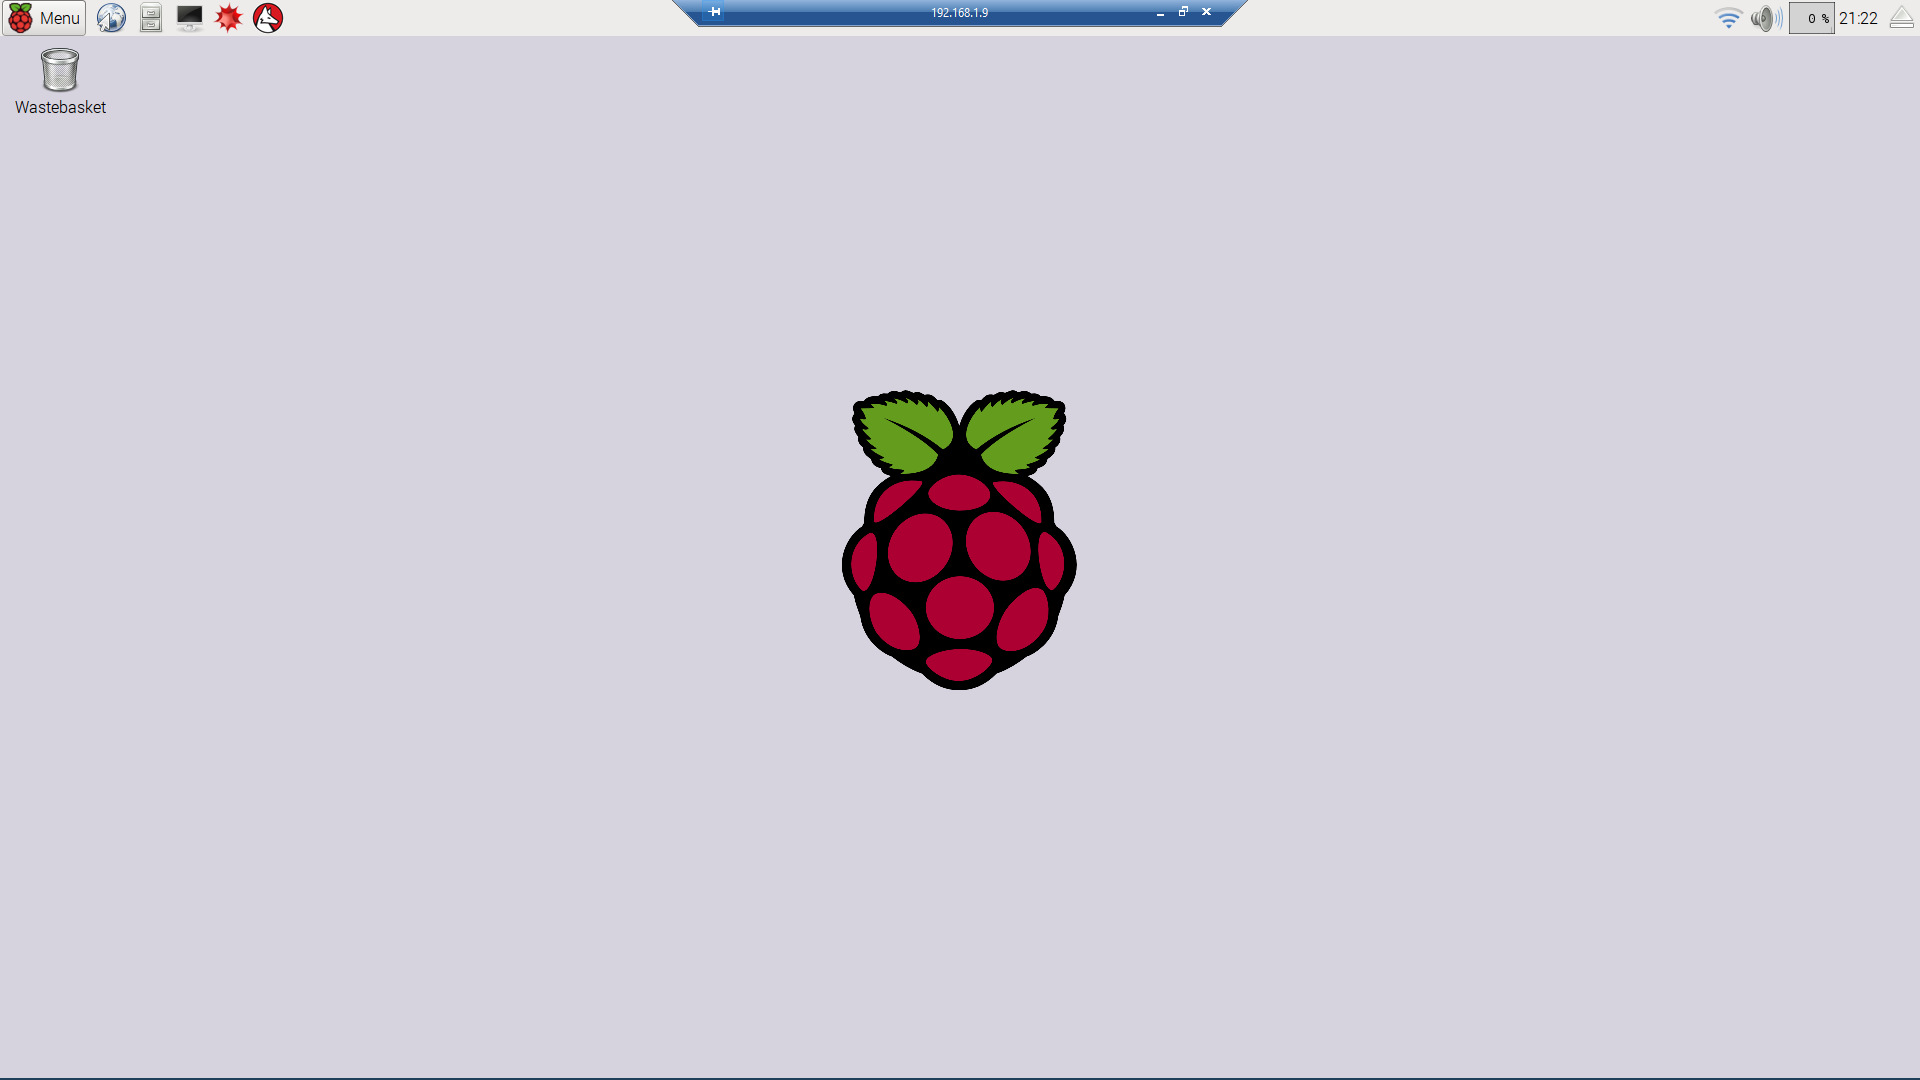
If you have not already done so, format an SD card then download and install Raspbian. After the operating system is installed and booted, the desktop should look similar to this:
Before going any further, you will need to connect the Pi to the internet. Either plug a live network cable into the jack on the front or plug in a USB wifi adapter and configure it. Verify internet connectivity by opening a web page or pinging a server on the network.
Update the Operating System
Since updates may have been released since the operating system image was created, run an update to make sure the latest versions of all programs are running. Open a terminal and running the following command:
sudo apt-get updateDepending on your internet speed, the update process may take a few minutes.
Install Node.JS and Node-RED
Recent releases of Raspbian include Node.JS and Node-RED, but the versions included are not the very latest. The following commands will load the latest versions and install the SiteWhere Node-RED modules:
curl -sL https://deb.nodesource.com/setup | sudo bash -
sudo apt-get install nodejs
sudo npm install -g --unsafe-perm node-red
sudo npm install -g node-red-contrib-sitewhere
To run Node-RED and verify the installation, run:
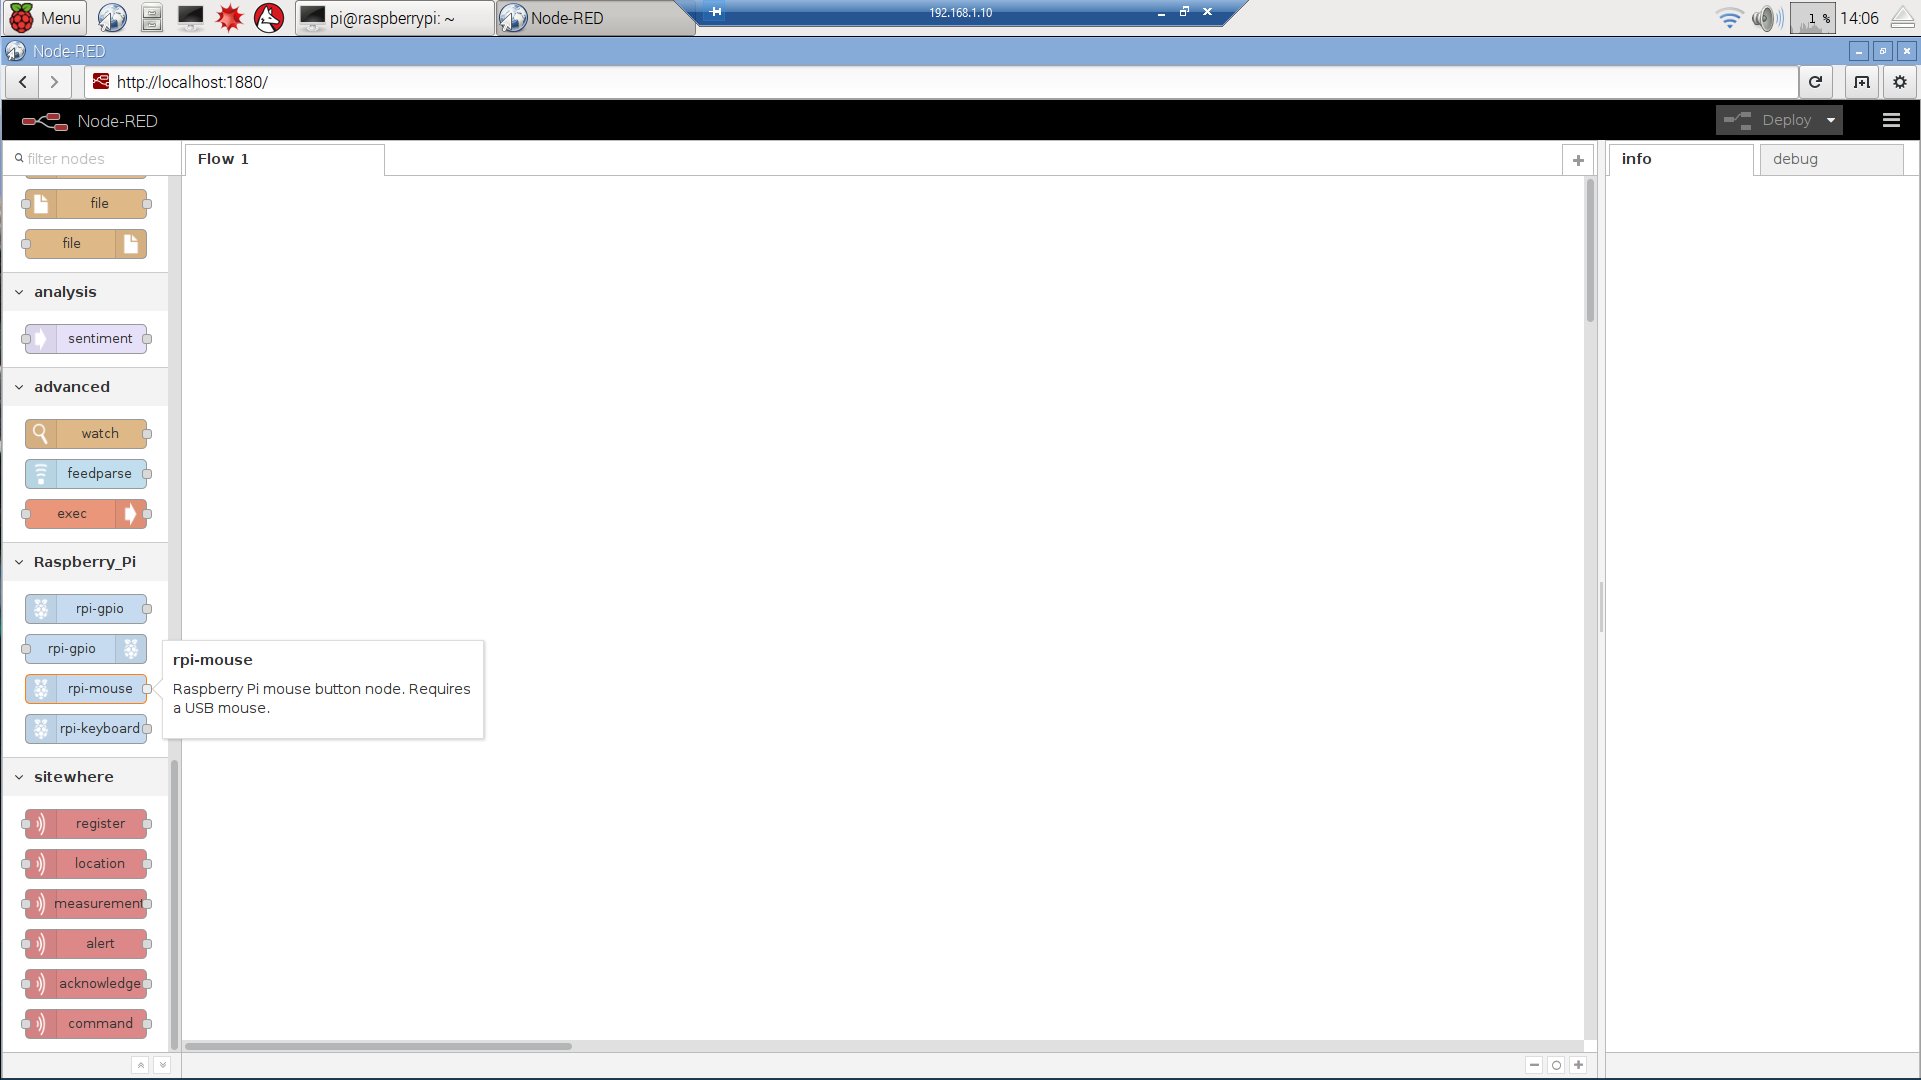
sudo node-red -vNode-RED will start and do some initial loading, then it will display a message indicating that the server is running. Open a browser and navigate to the URL provided in the server startup log (usually http://localhost:1880). The Node-RED web application and flow editor will load in the browser. Scroll down the palette at the left side of the application to verify that SiteWhere nodes have been installed as shown below:
Shut down the Node-RED server by typing ctrl-c.
Install DHT Sensor Node
Node-RED has support for the DHT11 sensor used in other SiteWhere tutorials. In order to enable the module, the BCM2835 library and node packages must be installed. The instructions below will build the BCM2835 library:
mkdir bcm2835
cd bcm2835
wget http://www.airspayce.com/mikem/bcm2835/bcm2835-1.49.tar.gz
tar zxvf bcm2835-1.49.tar.gz
cd bcm2835-1.49
./configure
make
sudo make check
sudo make install
With the library installed, the Node.JS modules can be added to provide a Node-RED node to interact with the BCM2835 library. Execute the following commands to add them:
sudo npm install -g --unsafe-perm node-dht-sensor
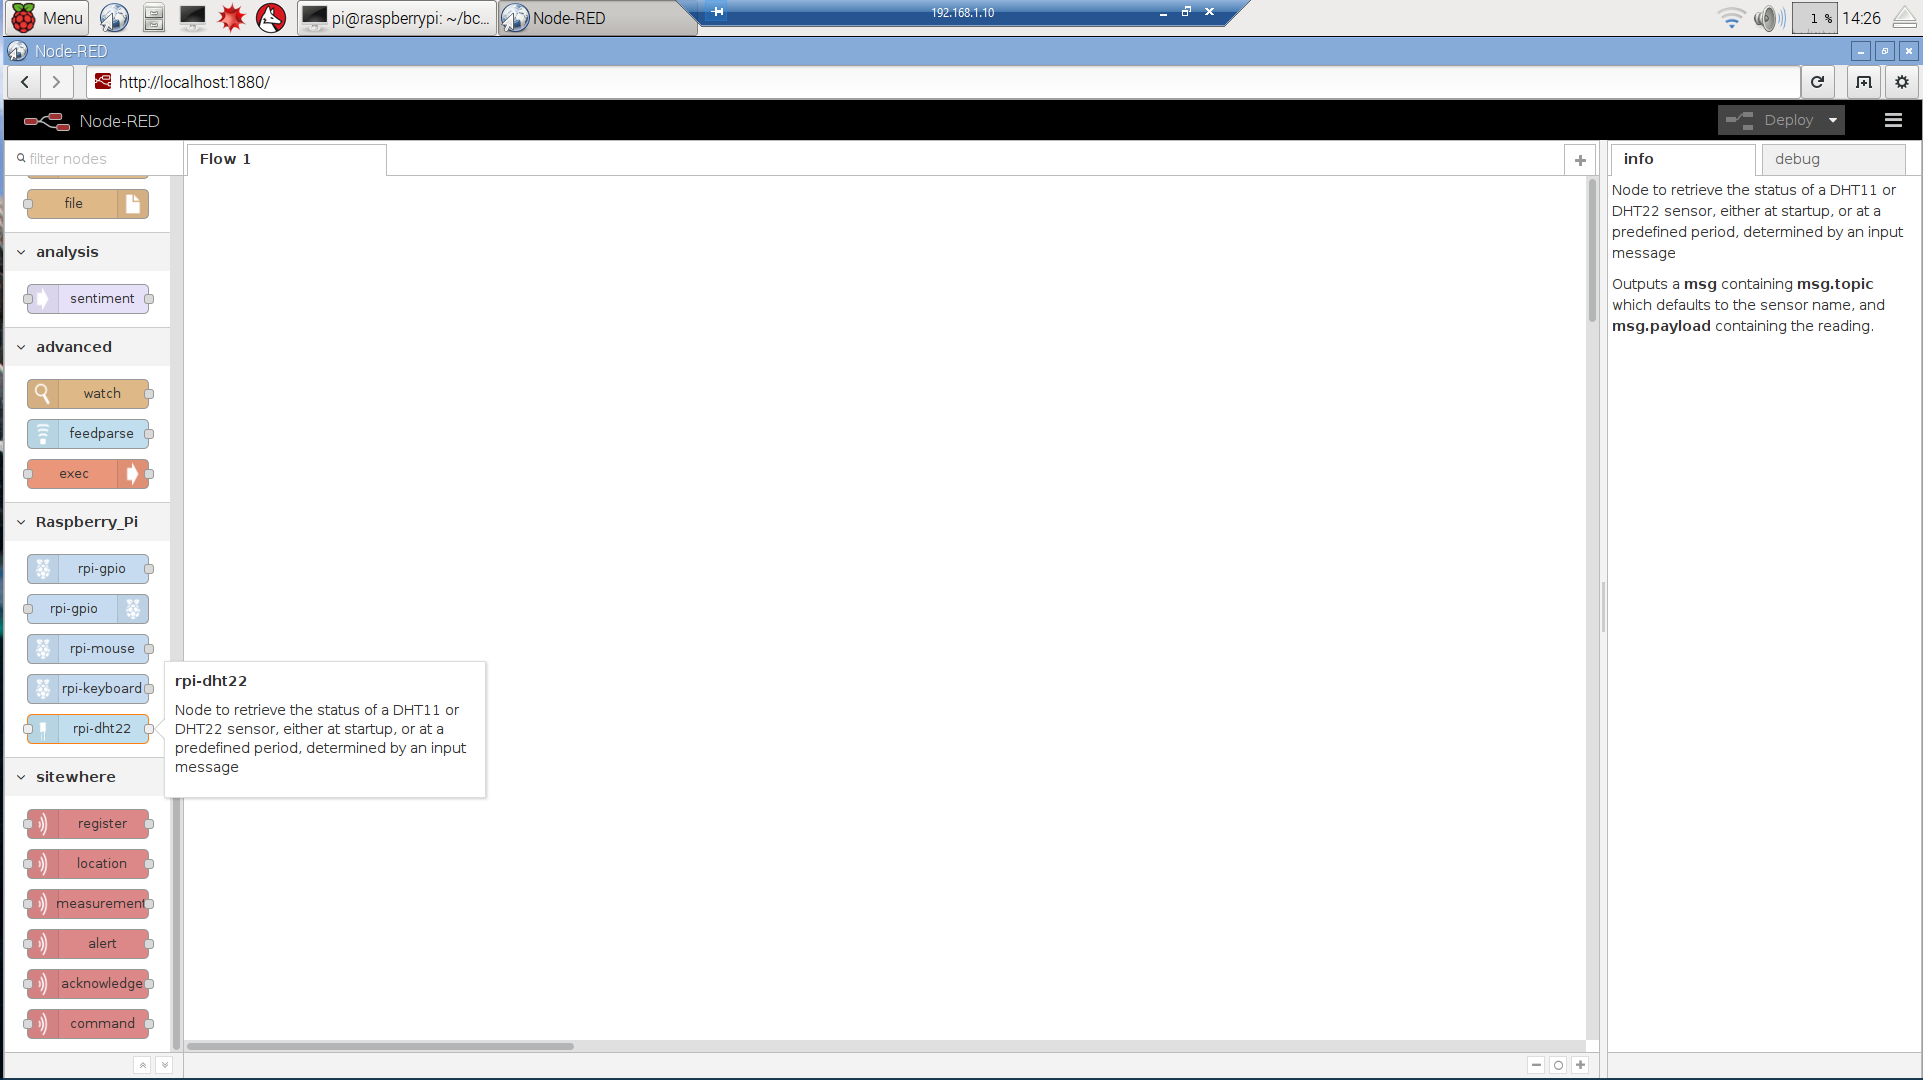
sudo npm install -g --unsafe-perm node-red-contrib-dht-sensorStart the Node-RED server and open the browser to the web application to verify that a palette entry was added for the DHT sensor (it will show up in the Raspberry Pi group):
sudo node-red -v
Conclusion
With Node-RED and the SiteWhere nodes installed, you can now start to build flows that allow devices to register with SiteWhere, send events, and process commands. This setup will provide a base configuration for other tutorials around SiteWhere/Node-RED integration.